Street Jujitsu · free full lesson
Arm Drag to Neck Restraint
The complete lesson: the video, the point diagrams, and the class notes. No account required. Any other Street Jujitsu lessons stay with school members and Online Academy subscribers.
Under-hook arm drag into a neck restraint. Drop the knee, take the chin, close structure, block the elbow.
1Under-hook arm drag to neck restraint
This lesson connects a Street Jujitsu demonstration with the monkey-style ideas used in Cloud Forest's Monkeys Brew teaching. The demonstration features Cameron and Chris with Sifu Michael Johnson.
The learning goal is to recognize how the arm drag, change of level, head-position control, and protection from the partner's free arm fit into one sequence. The video supplies the movement and coaching; the notes explain its vocabulary and the traditional point map.
For class practice: neck restraints can cause serious injury, and light pressure does not make them automatically safe. Learn this sequence with an instructor, a consenting partner, and an agreed stop signal. Begin by reviewing the positioning without completing a squeeze. Release immediately on the signal or any distress. Do not practice to loss of consciousness, and do not press the facial artery or throat to test a point theory.
2Monkey roots and modern application
Monkey methods are associated here with playfulness, adaptation, and the use of grips and changes of position. This is the school's interpretation of the animal-style connection; the lesson is not establishing that every modern arm drag descends from one historical monkey form.
The emphasis is application rather than a complete account of the form's origins. Keep the playful quality of learning while treating the partner's head, jaw, and neck with care.
3Read the point map correctly
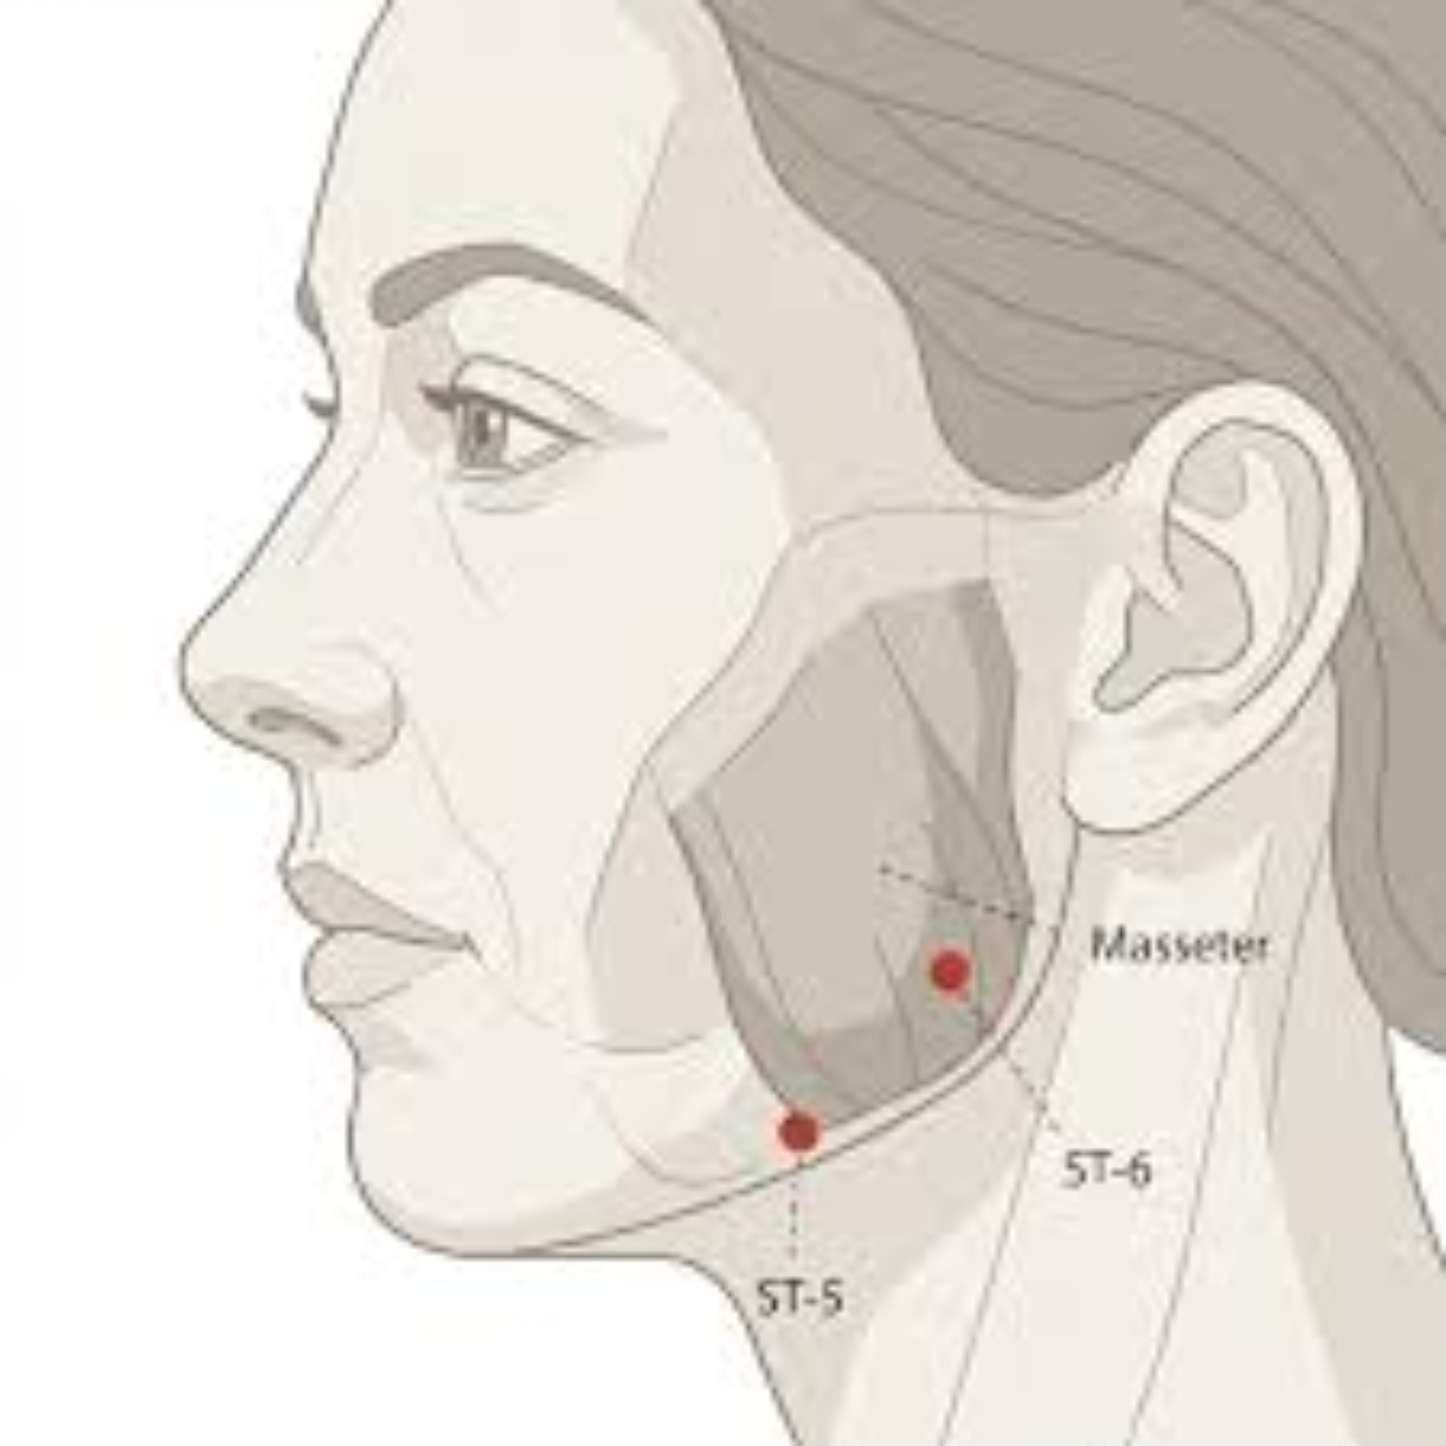
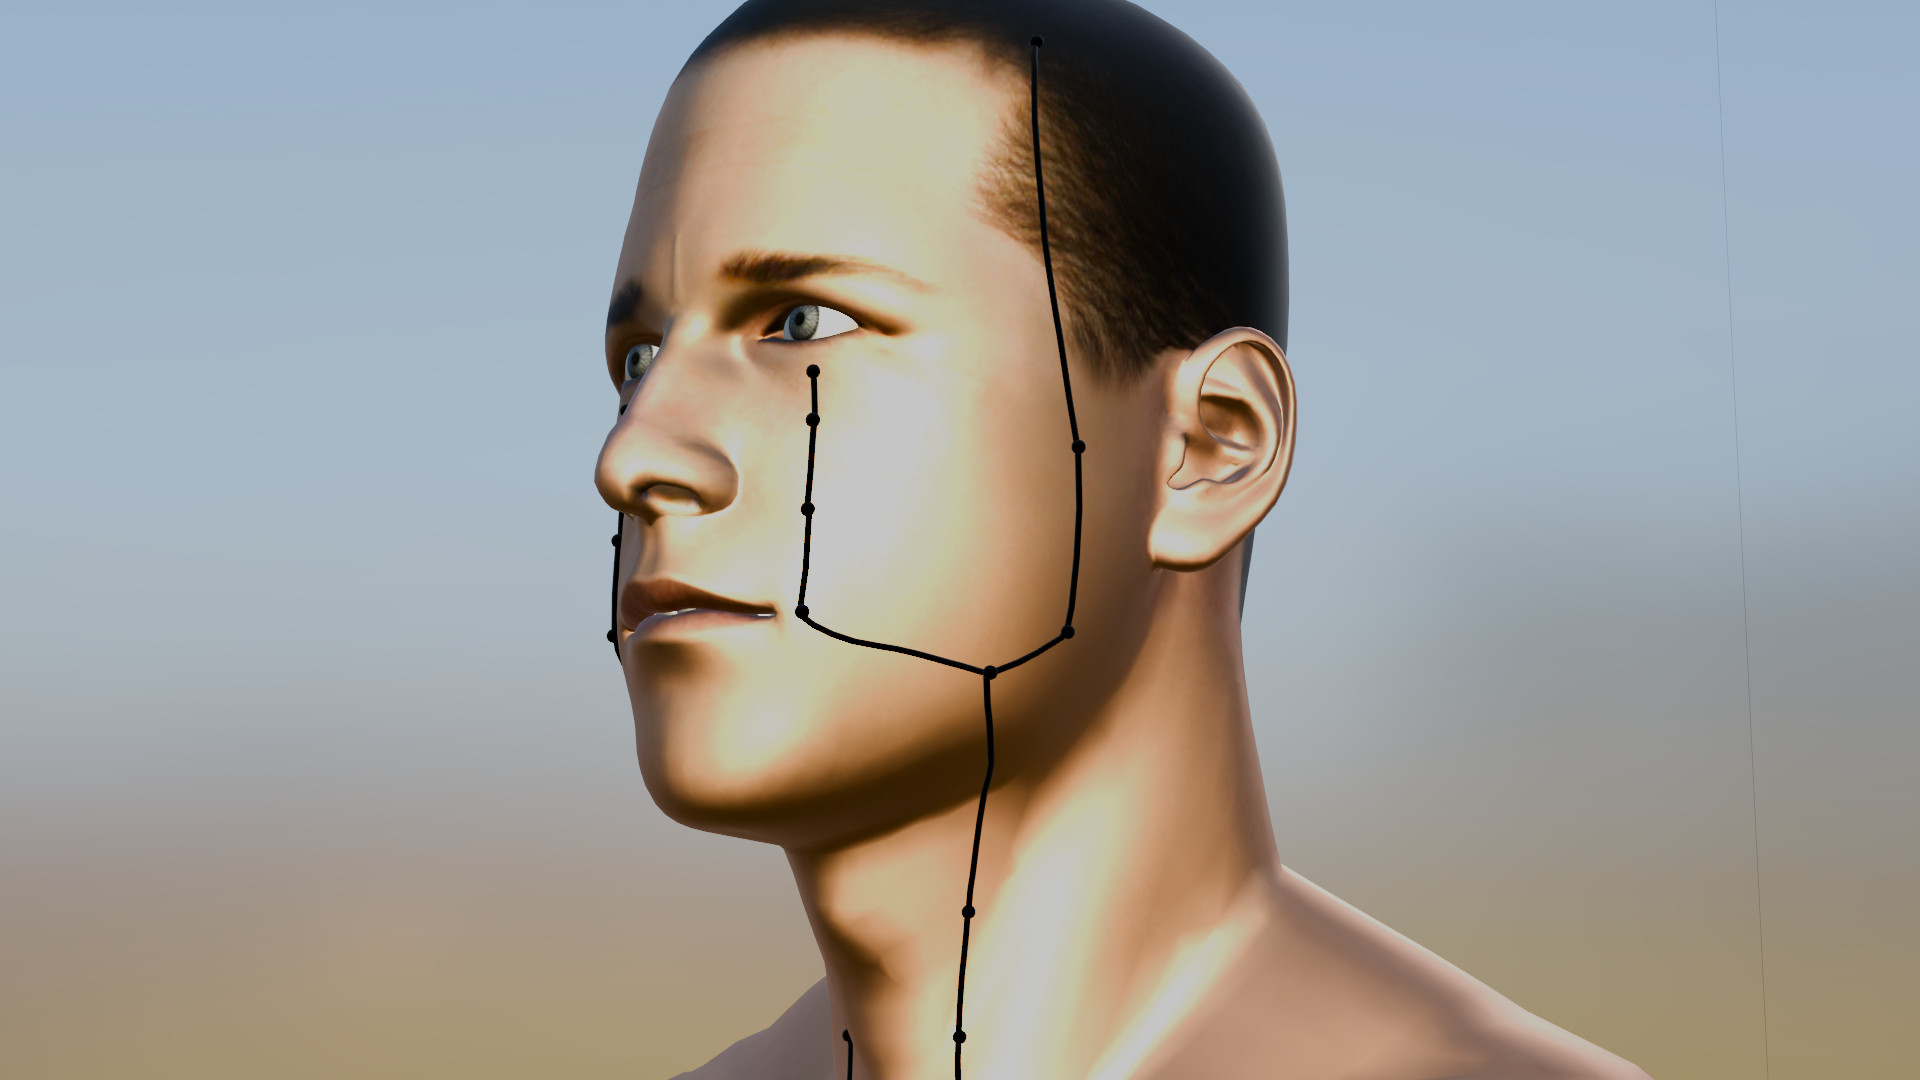
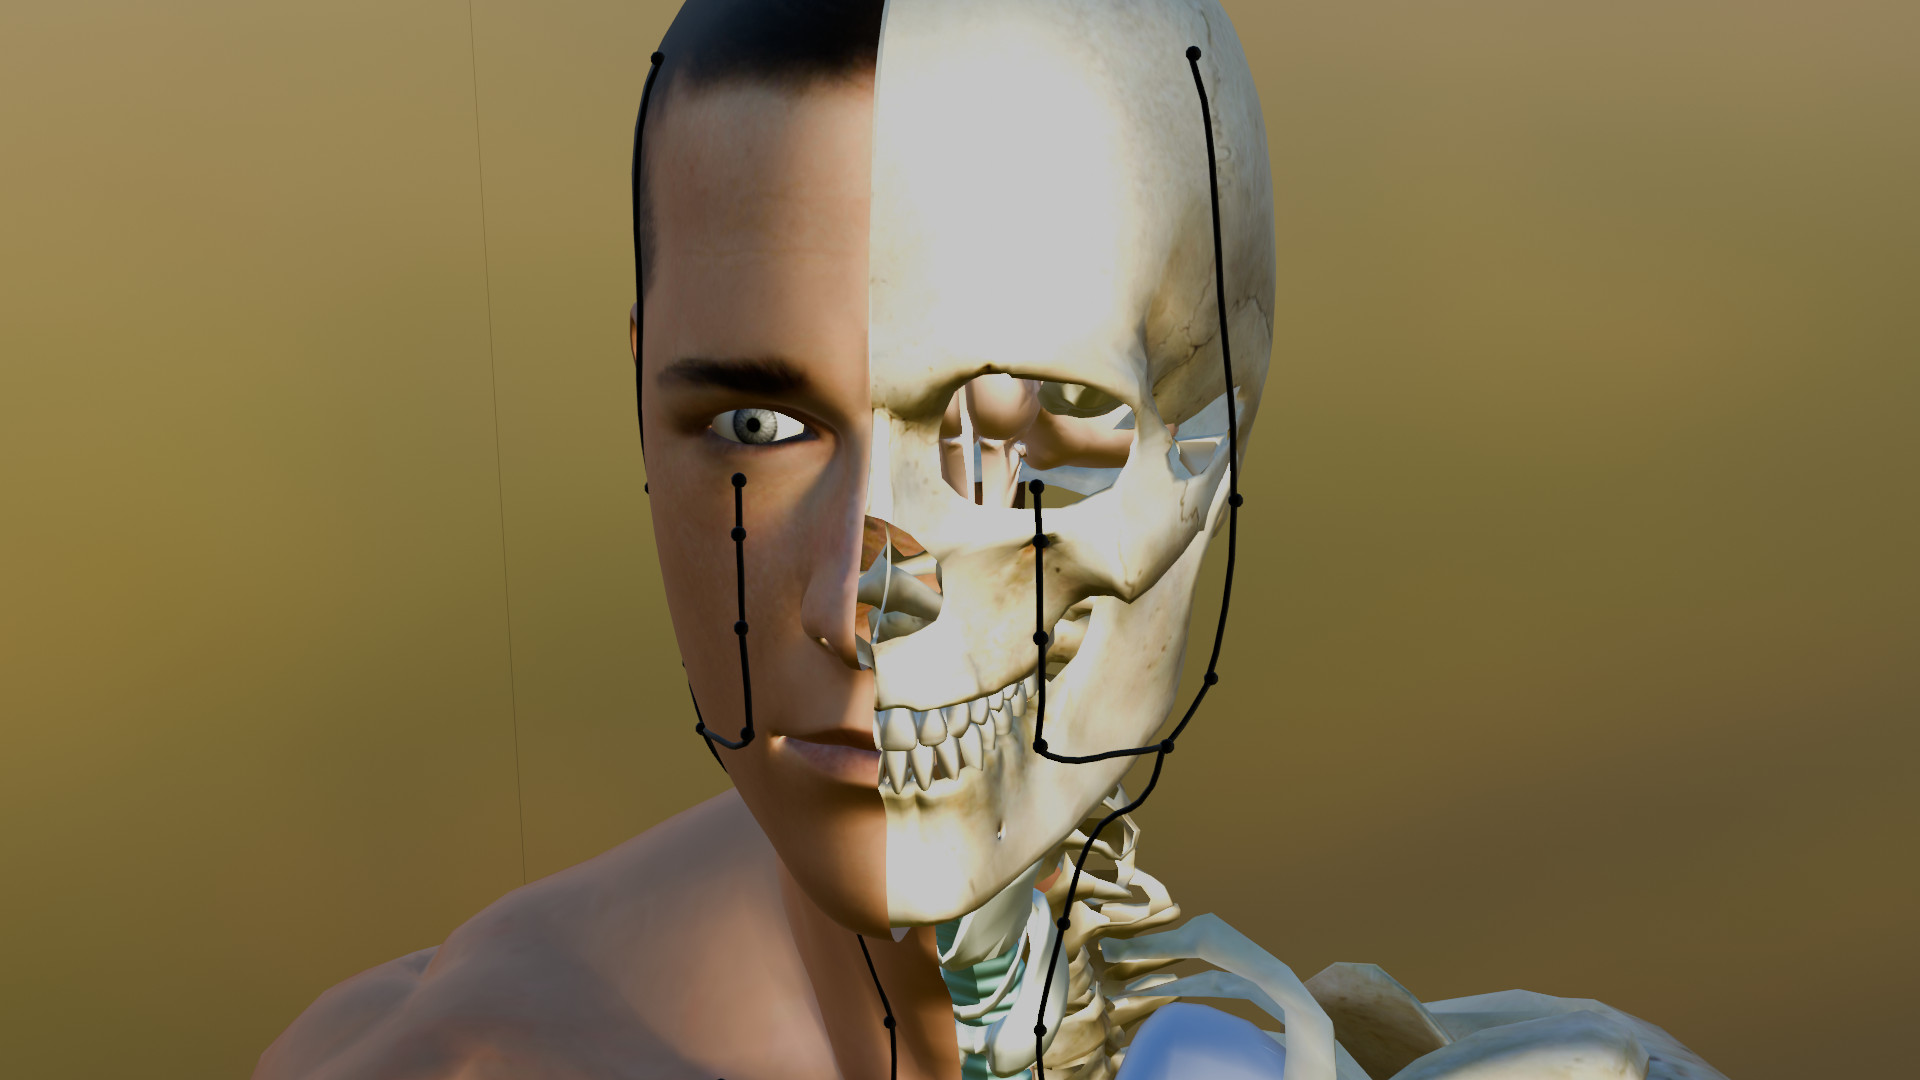
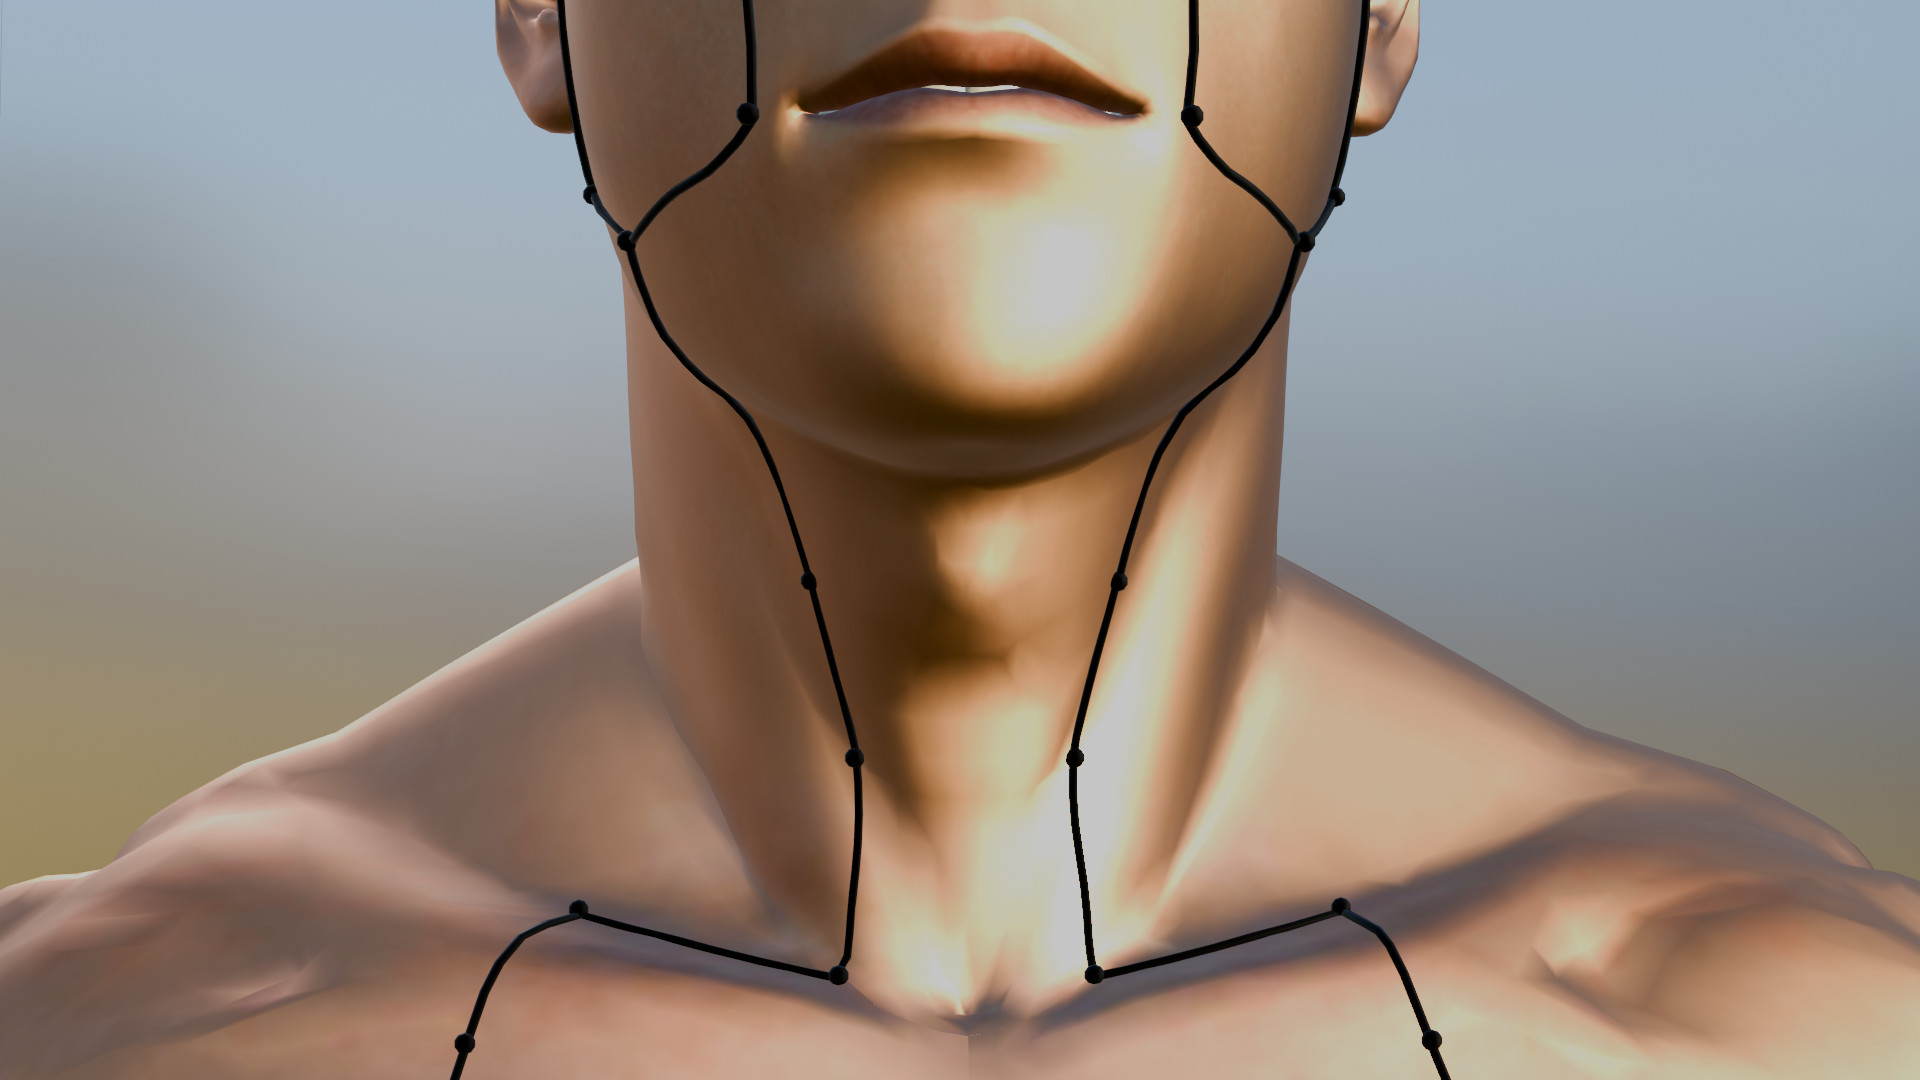
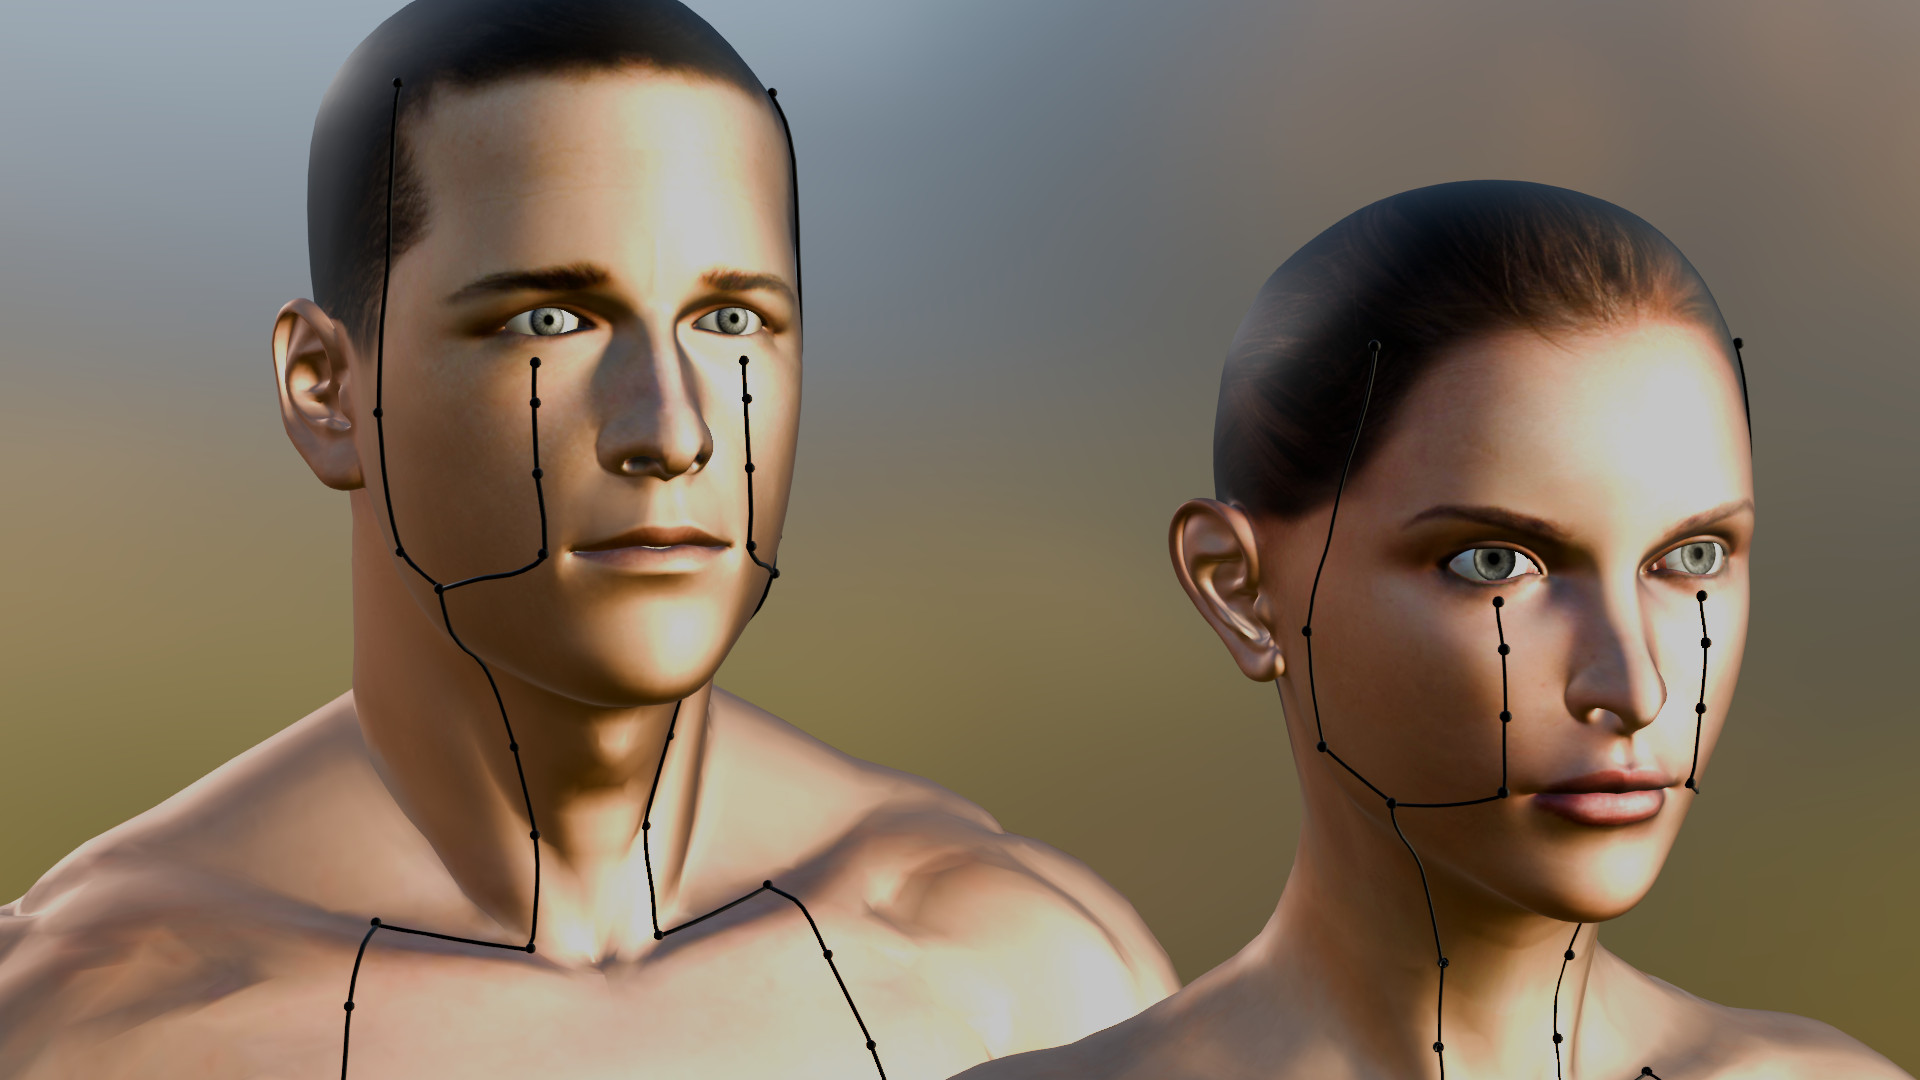
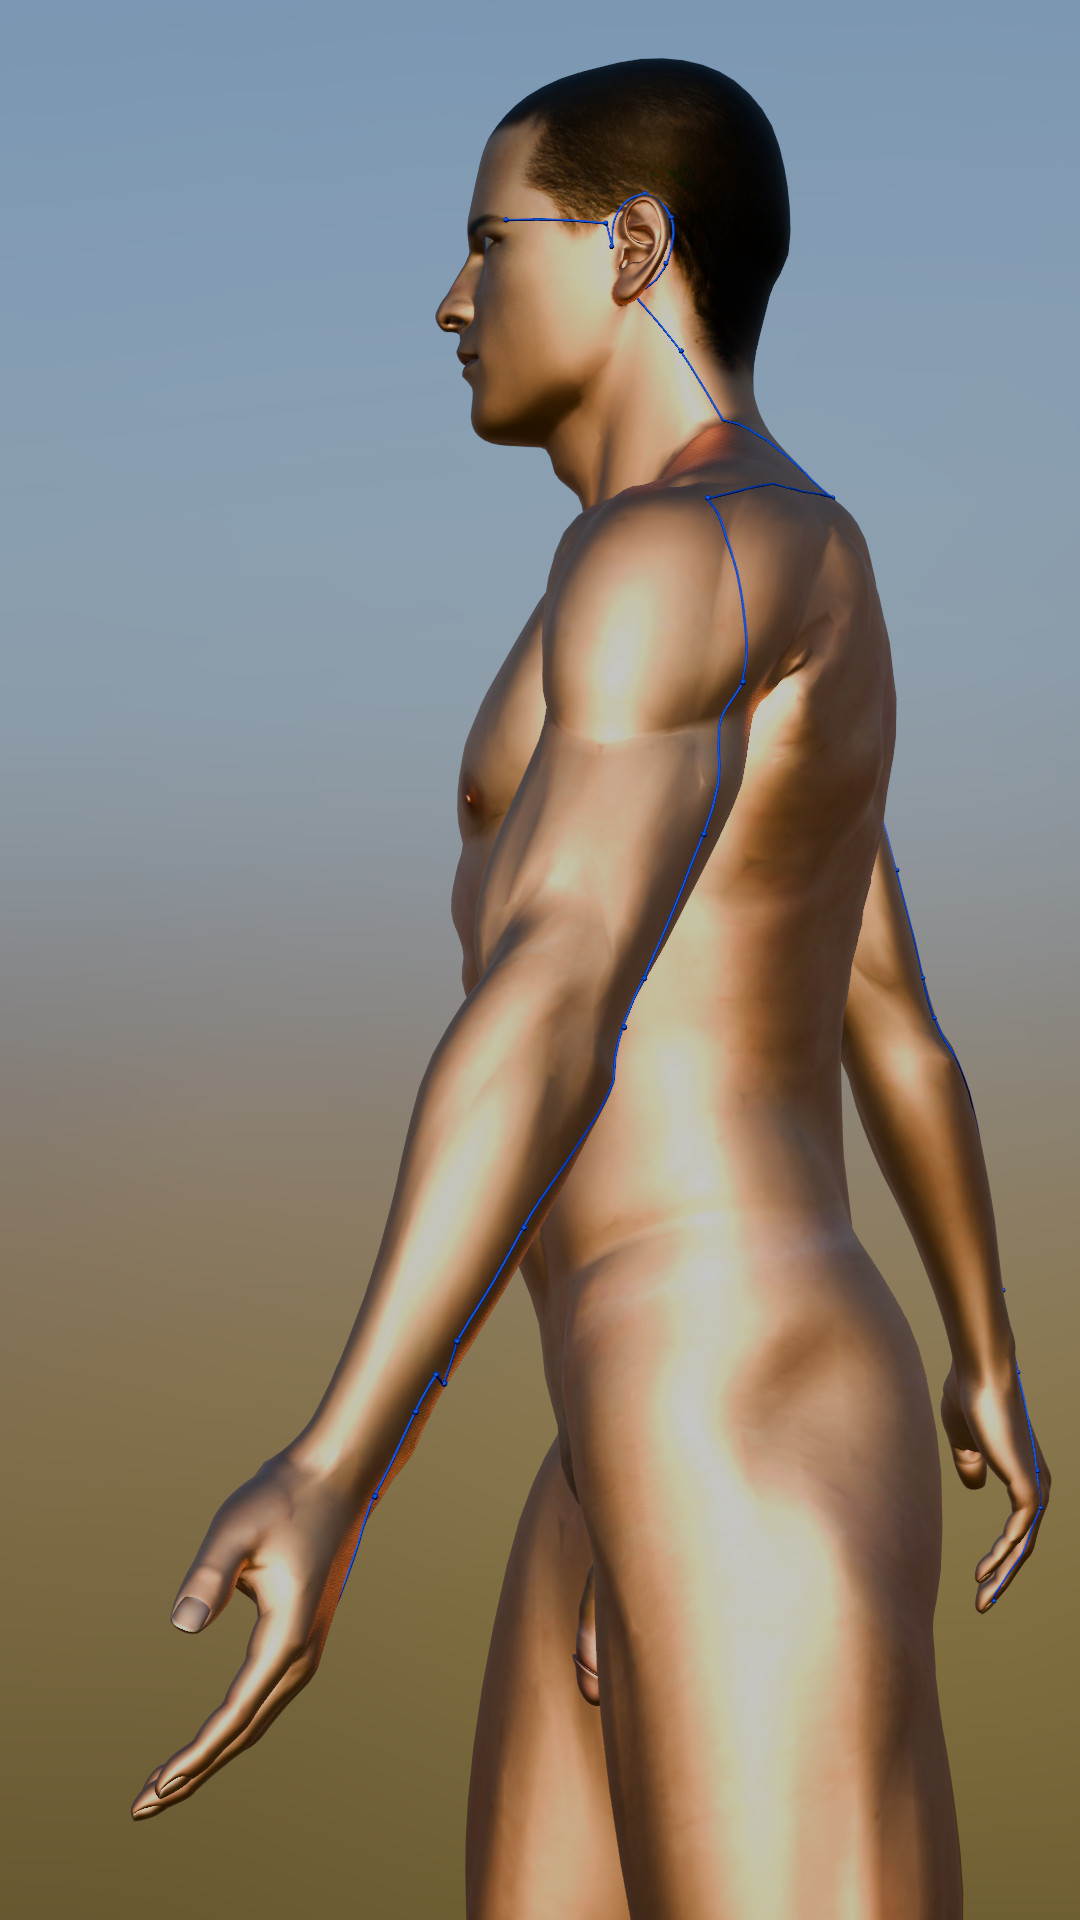
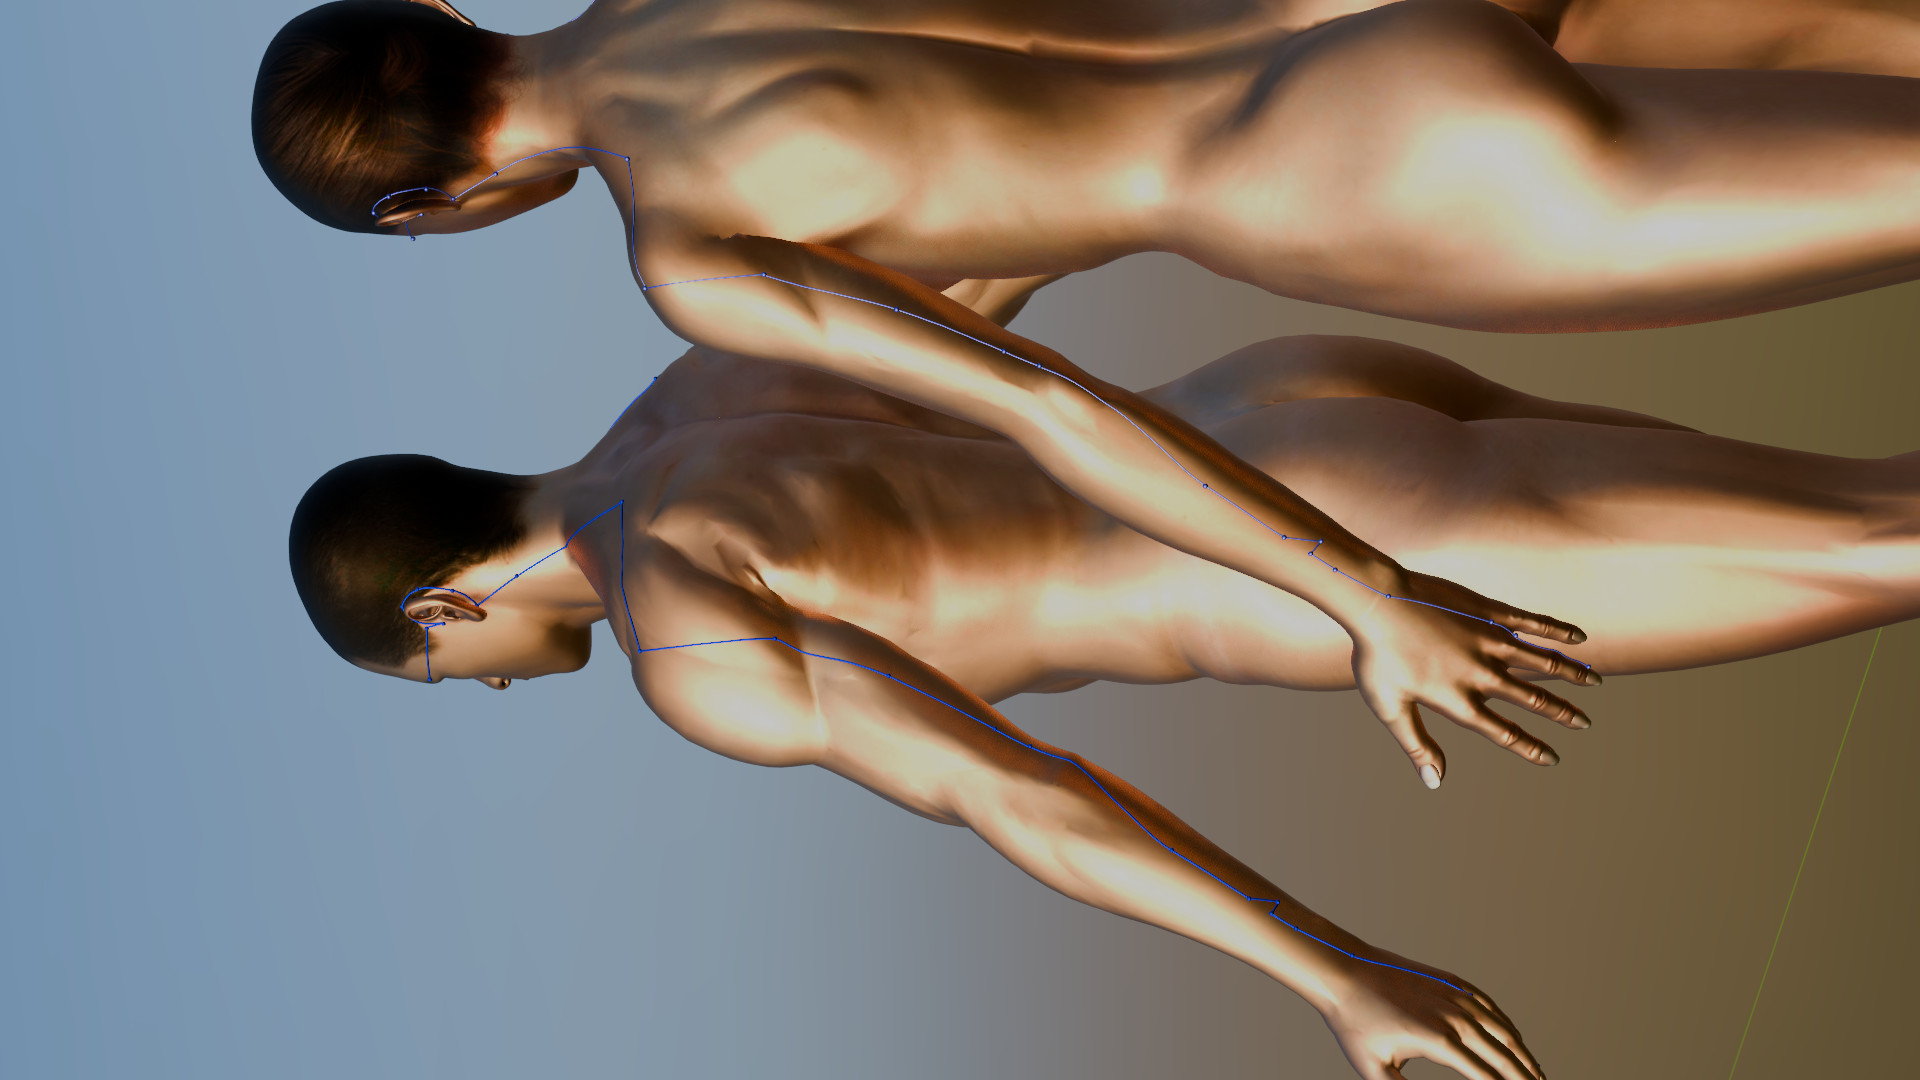
The diagrams above identify ST-5, ST-6, and SJ-11, also called TB-11, TE-11, or TW-11. These are acupuncture-point names used as landmarks in this lesson. Their meridian and Five Phase associations belong to the traditional Chinese medical model. They do not prove that pressure on an Earth or Fire point weakens an organ or reliably releases a resisting person.
Cun is a proportional body measurement in acupuncture, not a fixed number of inches. These notes provide terminology, not needling instructions or medical treatment advice.
ST-5 · 大迎 Dà Yíng · Daying: “Great Welcome”
| Reference | Meaning |
|---|---|
| Channel | Foot Yangming Stomach |
| Phase | Earth |
| Traditional cycle | Wood controls Earth; Fire generates Earth |
| Region | Jaw line, near the anterior border of the masseter and the mandibular angle |
| Name | Great Welcome, also rendered Big Welcome |
In acupuncture descriptions, ST-5 is associated with local face and jaw complaints, including toothache, trismus, and swelling. Those are traditional indications, not a guarantee of treatment effects.
Location reference: the point is described in a depression anterior to the mandibular angle, at the anterior border of the masseter attachment. The facial artery is nearby. A diagram does not make this an appropriate site for exploratory pressure.
Role in the demonstration: the instructor uses the ST-5 region as a reference for the chin/jaw contact while guiding head position. “Chin release” is a teaching cue, not a guaranteed response to pressure.
ST-6 · 頰車 Jiá Chē · Jiache: “Cheek Carriage”
| Reference | Meaning |
|---|---|
| Channel | Foot Yangming Stomach |
| Phase | Earth |
| Traditional cycle | Wood controls Earth; Fire generates Earth |
| Region | Masseter, near the angle of the jaw |
| Name | Cheek Carriage; also rendered Jaw Bone |
Traditional acupuncture descriptions associate ST-6 with jaw and facial complaints, including toothache, lockjaw, and masseter tension. Jia means cheek and che means carriage.
Location reference: commonly described about one finger-breadth anterior and superior to the mandibular angle, where the masseter becomes prominent when the teeth clench. The finger-breadth description is approximate.
Role in the demonstration: ST-6 identifies the masseter region discussed in the head-control phase. Pressure can be painful, but pain compliance varies and does not establish control. Do not make producing pain or loading the jaw joint the objective of a learning drill.
SJ-11 / TB-11 · 清冷淵 Qīng Lěng Yuān · Qinglengyuan: “Clear Cold Abyss”
| Reference | Meaning |
|---|---|
| Channel | Hand Shaoyang Sanjiao, also called Triple Burner, Triple Warmer, or Triple Energizer |
| Phase | Fire, traditionally ministerial fire |
| Traditional cycle | Water controls Fire; Wood generates Fire |
| Region | Posterior upper arm, on the triceps line above the elbow |
| Name | Clear Cold Abyss or Clear Cold Deep |
The traditional point description places SJ-11 one proportional cun above SJ-10, approximately two cun above the olecranon, with the elbow flexed. It is traditionally associated with arm and shoulder complaints, among other indications.
Role in the demonstration: this region provides the school's point reference for the grip above the elbow during the under-hook arm drag. The claim that it “softens the brace” is the method's explanation; positioning, timing, and the partner's response still determine what actually happens. It is not a reliable switch that makes an arm release.
4Read the demonstrated sequence
Use these stages while reviewing the video. They organize the demonstrated method rather than supplying a substitute for coached partner practice.
1. Set the distance and under-hook
The demonstrator faces the partner at a distance that allows an under-hook without leaning far forward. The grip is above the near-side elbow, rather than low on the forearm. Watch what the free arm is doing as well as the gripping arm.
2. Coordinate the drag and change of level
The teaching cue is “elbow toward knee” on the same side, coordinated with lowering the body. The intended effect is to turn the partner rather than pull with arm strength alone.
Look for the sequence in the demonstration. A drop does not guarantee that the partner turns or that the chin arrives in a particular place. If the position is not available, stop and ask for correction rather than increasing force.
3. Identify the transition to head control
The instructor relates the jaw contact to ST-5 and the masseter region to ST-6. Observe the hand path and the partner's position. Treat the neck-restraint finish as an instructor-supervised component; the point labels do not make it safe to improvise a squeeze.
4. Account for the free arm
The lesson emphasizes protecting against the partner's available elbow while controlling position. Watch how the demonstrator's free arm contributes. In a coached drill, agree on the response being tested rather than surprising the partner with an elbow strike.
The sequence to recognize is:
Under-hook → grip above the elbow → coordinated change of level and drag → head-position transition → account for the free arm.
5Common problems to look for
- Pulling mainly with the arm while the change of level happens separately.
- Gripping too low to match the demonstrated above-elbow position.
- Losing track of the partner's free arm.
- Rushing the transition before the preceding position is clear.
- Treating a point label or a pain response as proof that the whole structure works.
6Review and class discussion
Watch once for the complete sequence, then pause at the transition from arm drag to head contact. Note a timestamp and describe what each arm is doing. Identify one detail you can see and one you need the instructor to explain.
Use the lesson discussion, where available, for those questions and for observations from supervised practice. Keep notes concrete: where the drag stalled, whether the level change and grip stayed coordinated, and how the free arm was accounted for. Do not measure success by how much pressure the partner tolerated.
Contact the school without an account for help with your training goal or prerequisites. Existing students can sign in to message an instructor. Personal coaching and assessment need to be arranged with the school.